
Standing water on a patio almost always comes down to three things: wrong slope, blocked joints or drains, or downspouts dumping roof water onto the surface. Run a hose test now and time how long it takes to clear. If water sits for more than six to twelve hours, or creeps towards the house, stop guessing and get a professional to look at it.
TL;DR:
- Most pooling issues are caused by incorrect slope, blocked joints, or roof runoff directly onto the patio, which can often be fixed with simple adjustments.
- Checking after heavy rain and performing hose tests at natural runoff points can identify drainage failures early, especially if water remains after six hours.
- Minor fixes like clearing joints, extending downspouts, or installing channel or French drains can resolve 80% of common pooling problems without major excavation.
- Properly measuring the patio’s fall, maintaining drainage hardware, and rechecking after repairs prevent pooling from returning within a few seasons.
- If water persists more than 12 hours, reaches the house, or a large section has sunken unevenly, professional assessment and structural repairs are necessary.
Table of Contents
- How to check for patio drainage problems yourself
- The common causes of patio drainage problems and their fixes
- Step-by-step DIY fixes for a sunken or poorly draining patio
- What maintenance keeps drainage problems from coming back
- When to call a professional for patio drainage problems
- How a professional inspection uncovers what a homeowner's check misses
- Fix the water path first, worry about looks second
- Axora Cleaning: fixed-price help for patios that won't drain
- Sources
How to check for patio drainage problems yourself
Start by watching what happens after the next proper downpour, not a light shower. A patio with genuine drainage capacity clears within 30 to 60 minutes. Anything lingering past six hours points to a weak system, and pooling that's still there the next morning usually means a structural drainage failure somewhere in the base or the fall.
- Watch and time it. After rain, note exactly where water collects and how long it takes to disappear.
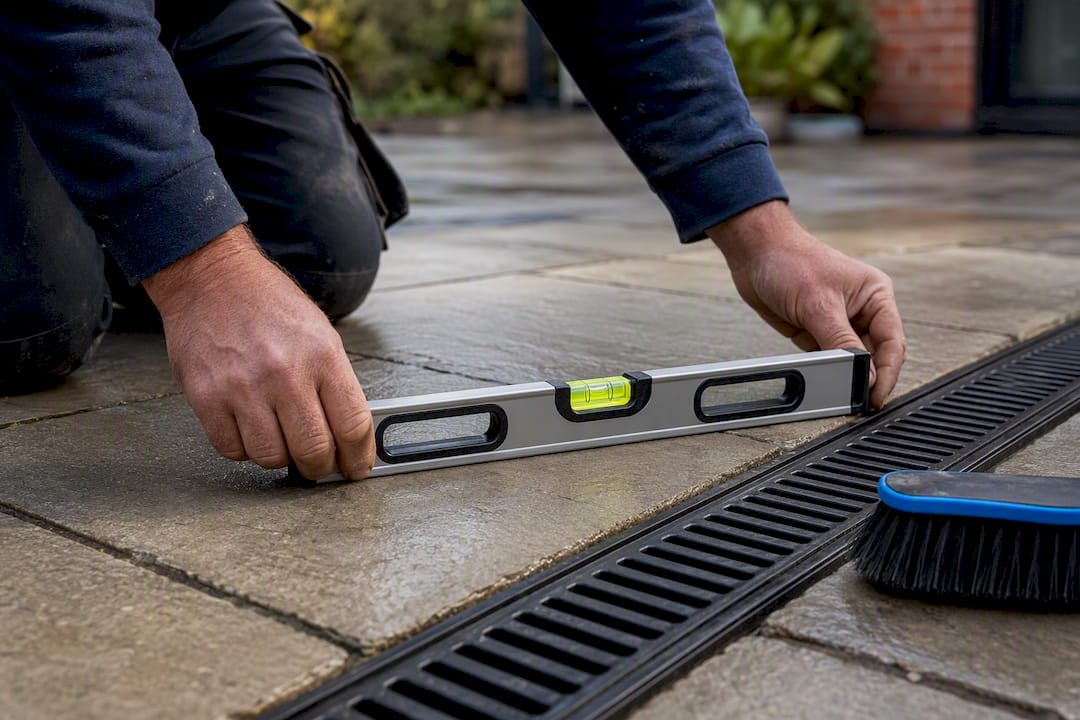
- Measure the fall. Lay a straight edge or spirit level across the patio and check the drop over its length. Aim for roughly 1:60 to 1:80, which works out to about a quarter of an inch per foot as a minimum effective fall.
- Run the hose test. Pour water steadily near the house wall and watch where it goes. It should run away from the building, not pool or trickle back towards the threshold.
- Check the hardware. Look at gutters, downspout outlets, and any channel drains for silt, leaves, or moss blocking the grate.
- Photograph the low spots. Wet patches, cracked joints, or sunken slabs all photograph well and speed up any quote you request later.
Pro Tip: Do the hose test at the same spot where rain naturally lands hardest, usually right under a roof valley or downspout, not in the middle of the patio where it's easiest to reach.
The common causes of patio drainage problems and their fixes
Most patios pool water for one of six reasons, and each has a fix that matches its severity rather than a one-size patch.
- Incorrect pitch. A patio laid flat or tilted towards the house needs correcting. Minor dips can be solved by lifting and re-bedding a section; widespread problems may require a full relay with the fall properly rebuilt.
- Blocked joints and low permeability. Compacted grit, moss, and algae stop water passing through jointing sand or resin. Cleaning and re-jointing with a polymeric or resin-bound joint restores flow far more reliably than sealing the surface, which often just traps moisture underneath instead of letting it escape.
- Downspout and roof runoff. A downspout emptying straight onto the patio can overwhelm even a well-laid surface. Extending the downspout a few feet away, adding a splash block, or routing water to a soakaway or rain garden usually solves this without touching the paving at all.
- Sub-base failure or settlement. Uneven sinking, cracked slabs, or hollow sounds underfoot indicate base failure. This requires excavation and installation of a properly compacted new base rather than cosmetic fixes.
- Channel or French drains. Channel drains suit linear runoff along a wall or door threshold; French drains handle broader groundwater or slope issues across a wider area. They solve different problems, not the same one at different price points.
- Permeable paving. Genuinely permeable systems let water through the surface itself, but they need regular vacuuming and joint stone top-ups or they clog and behave exactly like solid paving within a couple of seasons.
Low-cost fixes solve more of these cases than most homeowners expect. Correcting a downspout's discharge point, clearing clogged joints, and cleaning channel drains often resolve pooling before anyone reaches for a spade.
Step-by-step DIY fixes for a sunken or poorly draining patio
Stop and call a professional if you see cracked foundations, water pooling against the house for more than half a day, or any sign the ground beneath a section has genuinely collapsed rather than just settled slightly.
- Lift and relay a sunken section. Lift the affected slabs, remove the old bedding, add and compact fresh suitable sub-base, re-bed with sharp sand, and relay to the corrected fall. Check with a level before the mortar sets.
- Install a channel drain. Cut a trench along the low edge, keeping a slight continuous fall towards the outlet. Bed the channel in concrete, fit the grate flush with the paving, and connect the outlet pipe to a soakaway or existing drainage run.
- Build a basic French drain. Dig a trench, line it with permeable fabric, add a base layer of gravel, lay the perforated pipe with its holes facing downward so water is pulled through the gravel rather than pooling inside the pipe, then backfill with more gravel and fold the fabric over the top.
- Test everything before you call it finished. Run the hose test again once the repair has fully set, exactly as you would on a freshly installed patio, and check again after the next heavy storm to be sure the fix holds under real rainfall.
Pro Tip: Test with a hose before the mortar or resin has fully cured. If water pools somewhere new, you can still adjust the fall before it's set permanently in place.
What maintenance keeps drainage problems from coming back
A patio that drains well on installation day can silt up within two or three seasons if nobody clears it. A quarterly check takes ten minutes and saves a much bigger repair later.
- Sweep debris and organic matter out of joints every few months, especially under trees.
- Clean channel drain grates and clear silt from the channel itself at least twice a year.
- Check downspout outlets are still directing water away from the patio, not onto it.
- If you have permeable paving, vacuum the surface and top up joint stone annually, since unmaintained permeable systems clog and stop draining altogether.
- Walk the patio after the first hard frost and again after any storm heavier than usual, looking for new pooling or joint movement.
When to call a professional for patio drainage problems
DIY fixes cover a lot of ground, but some signs mean it's time to bring in a tradesperson rather than keep experimenting.
- Water still pools more than 12 hours after rain, even after you've tried the obvious fixes.
- Water is reaching the house wall or threshold, which risks damp inside the property.
- A large area has settled unevenly rather than just one or two slabs.
A tradesperson will typically inspect the existing fall, check the sub-base condition, and quote for whichever of three jobs applies: a partial relay, a full regrade, or installing a channel or French drain system. Costs and timelines vary a lot depending on scope, a small relay is a day's work, while a full regrade with new drainage can run to several days. Before you call anyone, gather your hose-test photos, your fall measurements, and note exactly where and how long water sits. It genuinely speeds up accurate quotes.
How a professional inspection uncovers what a homeowner's check misses
A trained eye often spots what a quick homeworner check doesn't: silted channel drains hidden under moss, joints that look fine but have lost their sand entirely, or a slope that seems level to the naked eye but reads wrong under a spirit level. A fixed photo-quote model, where you send photos and get an exact price back, narrows down what a trade needs to quote for later. Deep cleaning, joint clearing, and before-and-after photos all give a repair contractor a clearer starting point than a guess.
Fix the water path first, worry about looks second
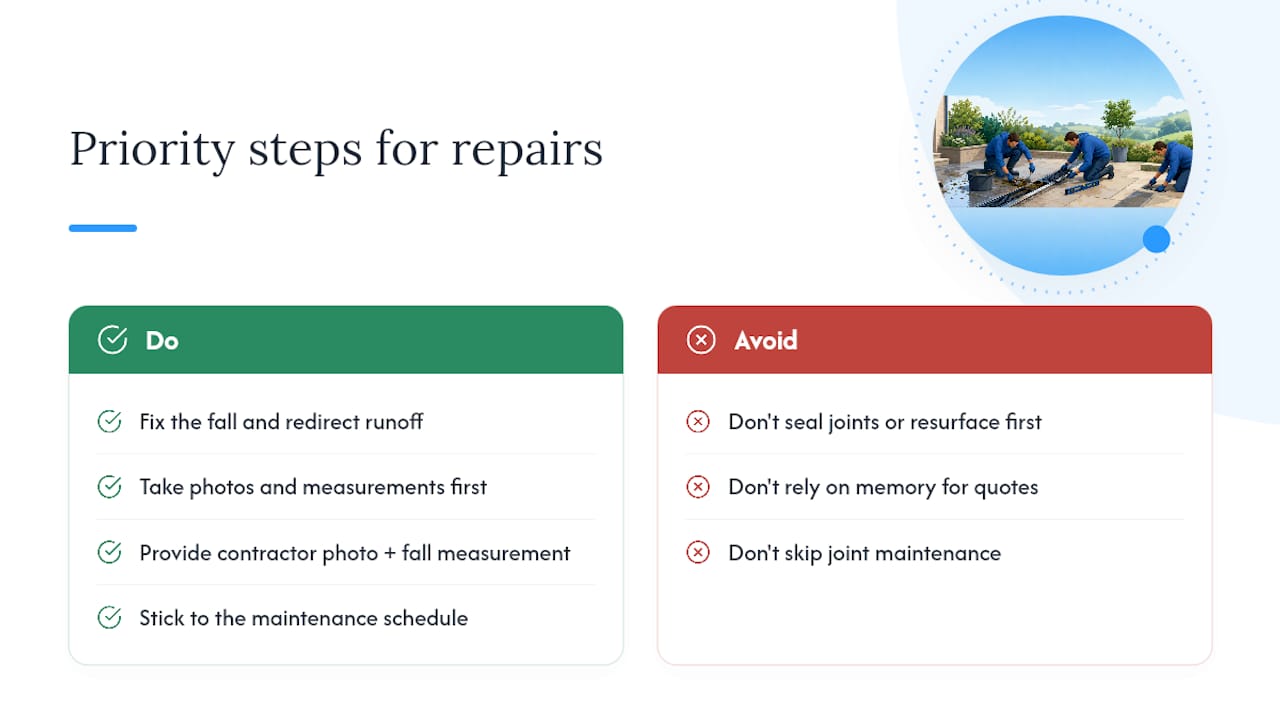
Sealing joints or resurfacing a patio that slopes the wrong way is a patch, not a repair. It buys you a season, maybe two, before the same puddle reappears in the same corner. Correct the fall and redirect the runoff first; everything cosmetic comes after that.
Take photos and measurements before you ring anyone for a quote. A contractor working from a clear fall measurement and a photo of where water sits will price the job more accurately than one working from your memory of "it gets a bit wet by the back door." Then stick to the maintenance schedule. A repaired patio with clogged joints six months later is just the same problem with better foundations.
— Mohammed
Axora Cleaning: fixed-price help for patios that won't drain
Axora Cleaning is the practical middle step between a DIY hose test and calling a full drainage contractor. Rather than guessing whether your joints are clogged or your channel drain is silted, a deep clean and joint clear often reveals exactly what's causing the pooling, before you spend money on a bigger repair.

Send photos of the wet areas and you will receive a fixed price quote for cleaning. A deep clean can remove moss, silt, and compacted grit that block water passing through the joints, and before-and-after photos help track the cleaning results. The service provides direct communication throughout, not via a call centre. If your patio's been holding water longer than it should, book a photo-based quote with Axora Cleaning and find out whether a clean solves it before anything more disruptive does.
Sources
For readers who want installation-level detail beyond this guide, these cover specific techniques in depth: